Goldfinch Studio 2026

The work is the pitch. Proof, not promises.

Goldfinch-studio by Shahab Sabbaghian

Quick links

  • Home
  • Projects
  • About
  • Contact
  • Blog

Other links

  • Log in
  • Get started
Jul 14, 2026
Get started

Get smarter about digital products

Occasional insights on design, development, and real builds. No fluff, just what works.

Goldfinch-studio by
Shahab Sabbaghian

Quick links

  • Home
  • Projects
  • Blog
  • About

Studio

  • Contact
  • Dashboard
  • Log in

Social

©2026 Goldfinch Studio. All rights reserved.

Back to blog

Design

Create Auto Layout in Figma: A Complete Beginner’s Guide

goldfinch
goldfinch·March 6, 2026
Create Auto Layout in Figma: A Complete Beginner's Guide

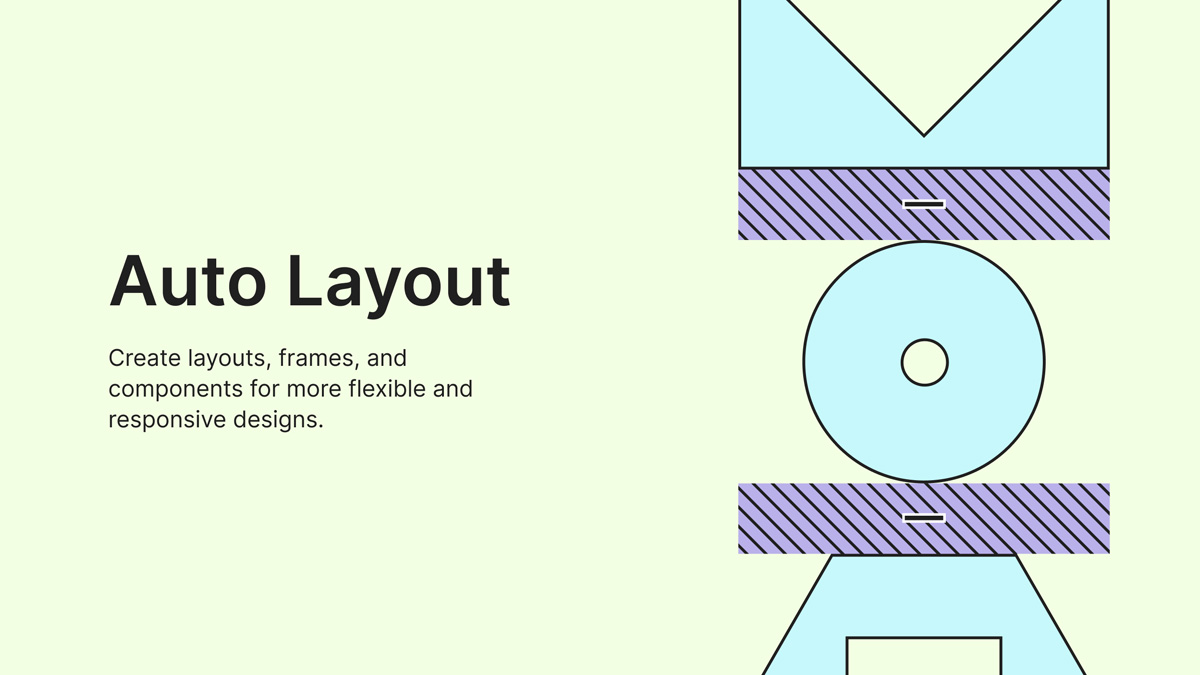
Figma is one of the most popular UI/UX design tools available today. Among its many powerful features, Auto Layout stands out as an essential tool for creating flexible, responsive, and scalable designs.

What Is Auto Layout in Figma?

Auto Layout is a feature that automatically controls the spacing, alignment, and sizing of elements within a frame. When content changes, the layout adjusts dynamically, helping designers maintain consistency across their projects.

Why Use Auto Layout?

Auto Layout offers several advantages:

  • Faster design workflows
  • Consistent spacing and alignment
  • Responsive UI components
  • Easier design updates
  • Better collaboration between designers and developers

How to Create Auto Layout in Figma

Step 1: Select Your Elements

Choose the layers or objects you want to organize using Auto Layout.

Step 2: Apply Auto Layout

Press Shift + A on your keyboard or click Add Auto Layout from the right-hand properties panel.

Step 3: Choose Layout Direction

Select either a horizontal or vertical layout depending on how you want your elements arranged.

Step 4: Adjust Spacing

Set the spacing between items to create a clean and organized design structure.

Step 5: Configure Padding

Add padding around the content to improve visual balance and maintain design consistency.

Common Use Cases for Auto Layout

  • Buttons and button groups
  • Product cards
  • Login and registration forms
  • Navigation menus
  • Reusable design components

Best Practices

  • Use Auto Layout for all reusable components.
  • Combine Auto Layout with Constraints for responsive designs.
  • Maintain consistent spacing values throughout your design system.
  • Use nested Auto Layouts for complex interfaces.

Conclusion

Auto Layout is one of the most valuable features in Figma for modern UI design. By mastering Auto Layout, designers can create responsive, scalable, and professional interfaces while significantly improving workflow efficiency.

Comments

No comments yet. Be the first to comment.

Sign in to join the discussion

Create accountSign in
All posts

More articles

Keep reading

More notes on web performance, design systems, and the craft of building digital products.

What Is WordPress and Why Is It the Best Choice for Website Development?

The Benefits of Using Hooks in WordPress Development

What is Warp Ai? A Smart AI Assistant for Developers

What is Warp Ai? A Smart AI Assistant for Developers

Mar 6, 2026
1 min read

WordPress Hooks Explained: A Complete Guide for Developers

WordPress Hooks Explained: A Complete Guide for Developers

Mar 6, 2026
1 min read

Mar 6, 2026
3 mins read

WordPress hooks are one of the most powerful features of the WordPress development ecosystem. They provide developers with a way to customize and extend WordPress functionality without modifying the core files. Hooks act as connection points where custom code can be executed during specific events or processes within WordPress.

Access all our articles in one place.

View articles